If you’re looking to add a splash of creativity to your nails, blue and gold marble nails might be just what you need. This trendy style combines the elegance of gold with the calming tones of blue, creating a stunning effect that can be achieved right at home. Whether you’re preparing for a special occasion or just want to treat yourself, this guide will help you master the art of marble nails with ease.
Key Takeaways
- Blue and gold marble nails are a stylish choice that can be done at home.
- The marbling technique involves swirling nail polish in water for unique patterns.
- Essential tools include nail polish, a bowl of water, and a toothpick for swirling.
- Common mistakes include not prepping nails properly or using gel polish instead of regular polish.
- Experiment with different color combinations and designs to find your perfect marble look.
Understanding Blue and Gold Marble Nails
What Are Blue and Gold Marble Nails?
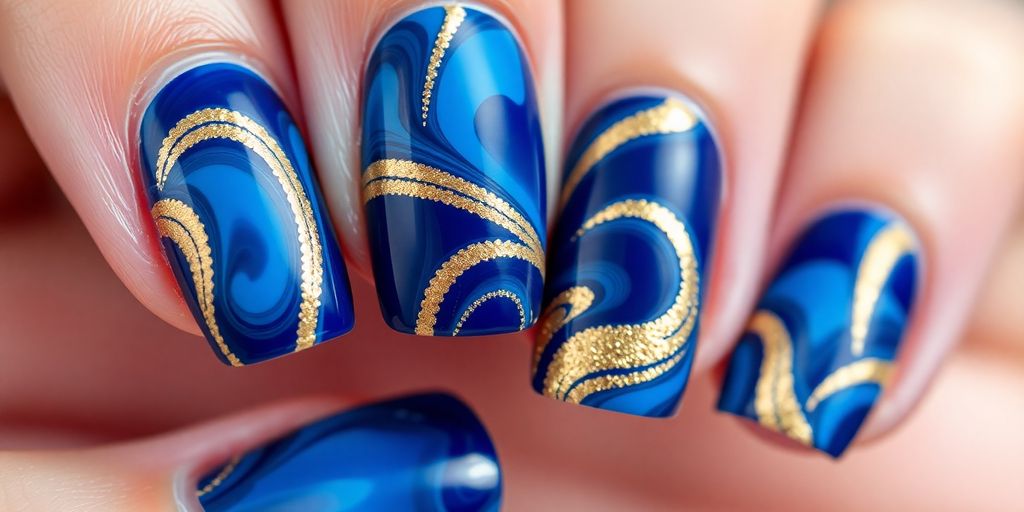
Blue and Gold Marble Nails are a trendy nail art style that combines the elegance of blue and gold colors with a swirling marble effect. This design gives your nails a chic and classy look, making them perfect for any occasion. Marble nails can be created using various techniques, but the result is always stunning!
Why Choose Blue and Gold?
Choosing blue and gold for your nails is a great way to stand out. Here are a few reasons why:
- Versatile Colors: Blue and gold can match almost any outfit.
- Eye-Catching: The contrast between the two colors makes your nails pop.
- Timeless Elegance: This combination is always in style, making it a safe choice for any event.
Popular Variations of Blue and Gold Marble Nails
There are many ways to play with this design. Here are some popular variations:
- Turquoise and Gold: A vibrant twist that resembles glamorous gemstones.
- Midnight Blue with Gold Flecks: A deep, rich look perfect for evening events.
- Pastel Blue and Gold: A softer, more delicate design for a subtle touch.
Blue and Gold Marble Nails are not just a trend; they are a way to express your creativity and style!
Essential Tools and Products for Blue and Gold Marble Nails
Creating stunning blue and gold marble nails at home is easier than you might think! Here’s what you’ll need to get started:
Must-Have Nail Polishes
- Base Color: A white nail polish is essential for a clean canvas.
- Marble Colors: Choose at least two shades of blue and a gold polish to create that beautiful marbled effect.
- Top Coat: A glossy top coat will seal your design and add shine.
Tools You Need
- Cup or Bowl: For the water marbling technique.
- Toothpick or Wooden Stick: To swirl the colors together.
- Cotton Rounds: For cleanup and mistakes.
- Acetone: To remove any excess polish from your skin.
- Nail Art Brush: For detailed work if needed.
Optional Accessories for a Professional Finish
- Vaseline or Liquid Latex: To protect your skin from polish.
- Nail Art Tape: For clean lines and designs.
- Nail File and Buffer: To prep your nails before starting.
Remember, having the right tools makes all the difference! With these essentials, you’ll be well on your way to achieving gorgeous blue and gold marble nails at home. Don’t forget to have fun and experiment with different patterns!
Step-by-Step Guide to Creating Blue and Gold Marble Nails at Home
Creating blue and gold marble nails at home is easier than you might think! Here’s how I did it:
Preparing Your Nails
- Start with clean nails. Remove any old polish and wash your hands.
- Shape your nails using a file. I like to keep them a bit longer for this design.
- Apply a base coat. This helps the polish stick and protects your nails.
Creating the Marble Effect
- Fill a bowl with lukewarm water. This is where the magic happens!
- Drop in your nail polishes. I used a blue and a gold polish. Let them spread out on the water’s surface.
- Swirl the colors with a toothpick to create a marbled pattern. Be careful not to mix too much!
- Dip your nail into the water, making sure to cover the entire nail. Pull it out slowly.
- Clean up any excess polish on your skin with a cotton swab dipped in acetone.
Sealing and Finishing Your Nails
- Let your nails dry completely. This is super important!
- Apply a top coat to seal the design and add shine. I love using a quick-dry top coat.
- Finish with cuticle oil to keep your cuticles hydrated.
Remember, practice makes perfect! If you mess up, just remove the polish and try again. It’s all about having fun with it!
Expert Tips for Perfecting Your Blue and Gold Marble Nails
Common Mistakes to Avoid
When I first tried marble nails, I made a few mistakes that you can easily avoid:
- Using too much polish: A little goes a long way! Too much can make the design look messy.
- Not swirling enough: Make sure to swirl the colors well to get that beautiful marble effect.
- Skipping the base coat: Always apply a base coat to protect your nails and help the polish stick better.
Advanced Techniques for a Unique Look
Once you’ve mastered the basics, try these tips to elevate your marble nails:
- Layering colors: Use multiple shades of blue and gold for depth.
- Adding glitter: A sprinkle of gold glitter can make your nails pop even more.
- Experimenting with shapes: Try different nail shapes like stiletto or almond for a fresh look.
Maintaining Your Marble Nails
To keep your nails looking fabulous:
- Use a top coat: This helps seal the design and adds shine.
- Avoid harsh chemicals: When cleaning, wear gloves to protect your nails.
- Moisturize your cuticles: Keeping them hydrated will help your nails look their best.
Remember, practice makes perfect! Don’t be discouraged if your first attempt isn’t flawless. Just have fun with it!
With these tips, you’ll be on your way to creating dazzling nail art designs that will turn heads!
Inspiration for Blue and Gold Marble Nail Designs
Classic Designs to Try
When it comes to blue and gold marble nails, there are so many stunning designs to choose from! Here are a few that I absolutely love:
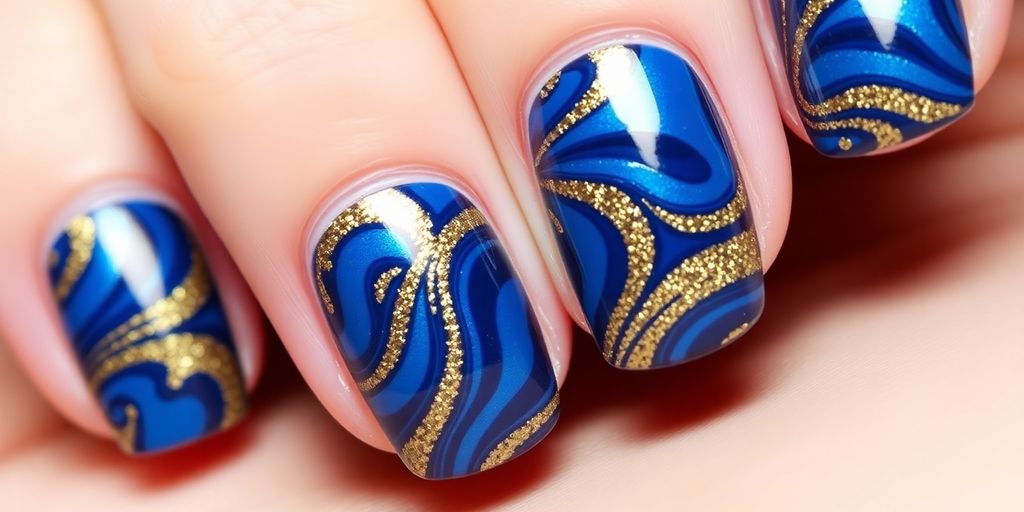
- Turquoise & Gold Marble: These nails remind me of glamorous gemstones. This chic and classy look goes well with any outfit or occasion!
- Classic White & Gold Marble: This design is the epitome of marble nails. The blend of white and gray with gold details adds a touch of glam!
- Galaxy Marble Nails: For a unique twist, try a galaxy-inspired look with deep purple, midnight blue, and pink glitter. It’s out of this world!
Seasonal Variations
- Sunny Marble Nails: A bright golden yellow French manicure that’s perfect for summer!
- Midnight Marble Nails: This design features a midnight blue base with gold star and moon accents, making it perfect for fall.
- Rose Gold Marble: A chic option for the festive season, combining rose gold and white for a classy look.
Celebrity-Inspired Looks
- Turquoise & Gold Marble: Inspired by the glamorous looks of celebrities, this design is a must-try!
- Classic White & Gold: A favorite among stars, this design is timeless and elegant.
- Galaxy Marble: Celebrities love to experiment, and this design is a perfect example of that!
Marble nail designs are a fun way to express your creativity and style. Whether you go for classic or trendy, the options are endless!
Troubleshooting Common Issues with Blue and Gold Marble Nails
Creating beautiful blue and gold marble nails can be a fun experience, but sometimes things don’t go as planned. Here’s how I tackle some common problems I’ve faced.
Dealing with Smudges and Imperfections
Smudges can happen, especially if you’re not careful. Here’s what I do:
- Wait for the polish to dry completely before touching anything.
- If you notice a smudge, use a small brush dipped in nail polish remover to gently clean it up.
- Consider adding a glitter top coat to distract from any imperfections.
Fixing Uneven Patterns
Sometimes, the marble effect doesn’t turn out as expected. Here’s how to fix it:
- Use a toothpick to swirl the colors again while they’re still wet.
- If it’s too late, you can always add more polish to create a new design.
- Don’t be afraid to experiment with different colors to cover up uneven areas.
How to Remove Marble Nail Polish Safely
Removing marble nails can be tricky, but I’ve got a method that works:
- Soak a cotton ball in acetone and place it on your nail for about 10 seconds.
- Gently wipe it off; the polish should come off easily.
- If you’re struggling, repeat the soaking process.
Remember, practice makes perfect! Don’t get discouraged if your first attempt doesn’t turn out as planned. Each try is a step closer to mastering the art of marble nails!
Alternatives to Blue and Gold Marble Nails
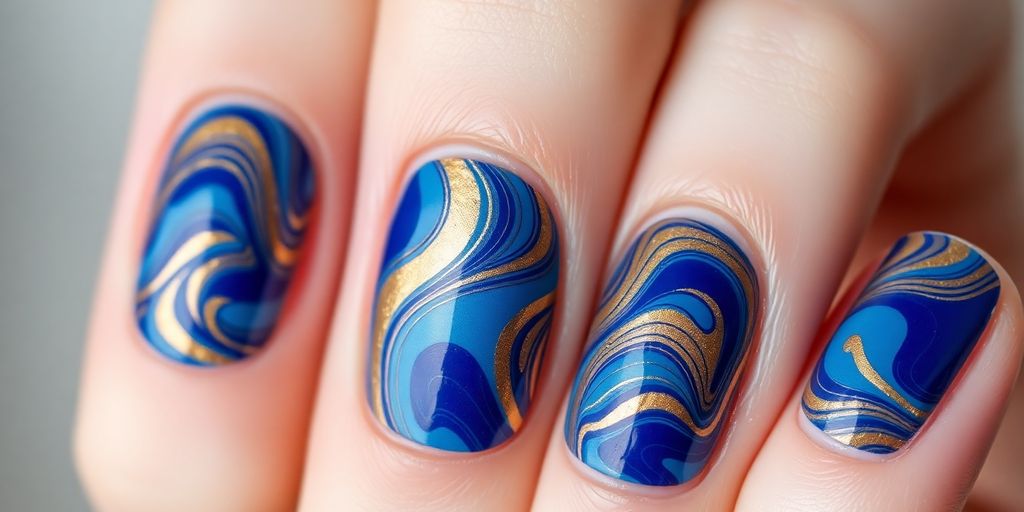
When it comes to nail art, there are so many fun options beyond just blue and gold marble nails. Here are some cool alternatives you might want to try:
Other Color Combinations
- Turquoise and Gold: This combo is classy and goes with almost any outfit.
- Pink and Purple: A sweet and subtle look that’s perfect for summer.
- Black and White: A classic choice that always looks chic.
Different Marble Techniques
- Water Marble: This technique can be tricky but gives a unique look.
- Nail Stamping: Use a stamping plate for quick and easy designs.
- Sponge Technique: Apply colors with a sponge for a fun, blended effect.
Press-On Marble Nails
If you’re short on time or just want something easy, consider press-on nails. They come in various designs, including marble patterns, and are super simple to apply.
Marble nails are having a major moment! Whether you go for classic colors or something bold, there’s a style for everyone.
So, don’t hesitate to experiment with these alternatives and find the perfect look for you!
Final Thoughts on Blue and Gold Marble Nails
Trying out blue and gold marble nails at home can be a fun and creative experience. With just a few supplies and some practice, you can achieve a beautiful look that rivals salon designs. Remember, it might take a few tries to get it just right, but don’t get discouraged! Enjoy the process and let your creativity shine. Whether you’re preparing for a special occasion or just want to treat yourself, these nails are sure to impress. So grab your nail polish and get started on your marble nail journey!
Frequently Asked Questions
What are Blue and Gold Marble Nails?
Blue and Gold Marble Nails are a nail art style that combines blue and gold colors to create a marble-like pattern on your nails. This design looks elegant and unique.
How do I create Blue and Gold Marble Nails at home?
To make Blue and Gold Marble Nails, you need to drop nail polish into a bowl of water, swirl the colors together, and then dip your nails in to pick up the design.
Can I use gel polish for marble nails?
No, gel polish won’t work for marble nails. You need to use regular nail polish because it spreads better on the water’s surface.
What tools do I need for this nail art?
You’ll need a bowl of water, nail polish in blue and gold, a toothpick for swirling, and some acetone for clean-up.
How long do marble nails last?
With a good top coat, marble nails can last about a week or more without chipping, but it depends on how you care for them.
Are marble nails difficult to do?
They can be tricky at first, but with practice, you can get the hang of it. Just be patient and don’t rush the process.

